Wingfoil has exploded over the past few years, and for good reason: it's accessible, it packs into a backpack, and the feeling of flying above the water is simply addictive. Coming from free flight myself, I find the same magic in foiling — that silent lift. In this guide I want to lay down the basics properly: understanding the gear, understanding the real progression, and getting started safely.
What exactly is wingfoil?
Wingfoil is a board sport where you hold a light inflatable wing in your hands while standing on a board fitted with a foil — a mast with submerged wings that, beyond a certain speed, lifts the board out of the water. You're no longer gliding on the water, you're flying above it. It's that "take-off" that gives the sport its unique sense of silence and lightness.
In practical terms, there are three components to understand, and they are independent of one another. That matters: you can upgrade your gear piece by piece.
The 3 components: the wing, the board, the foil
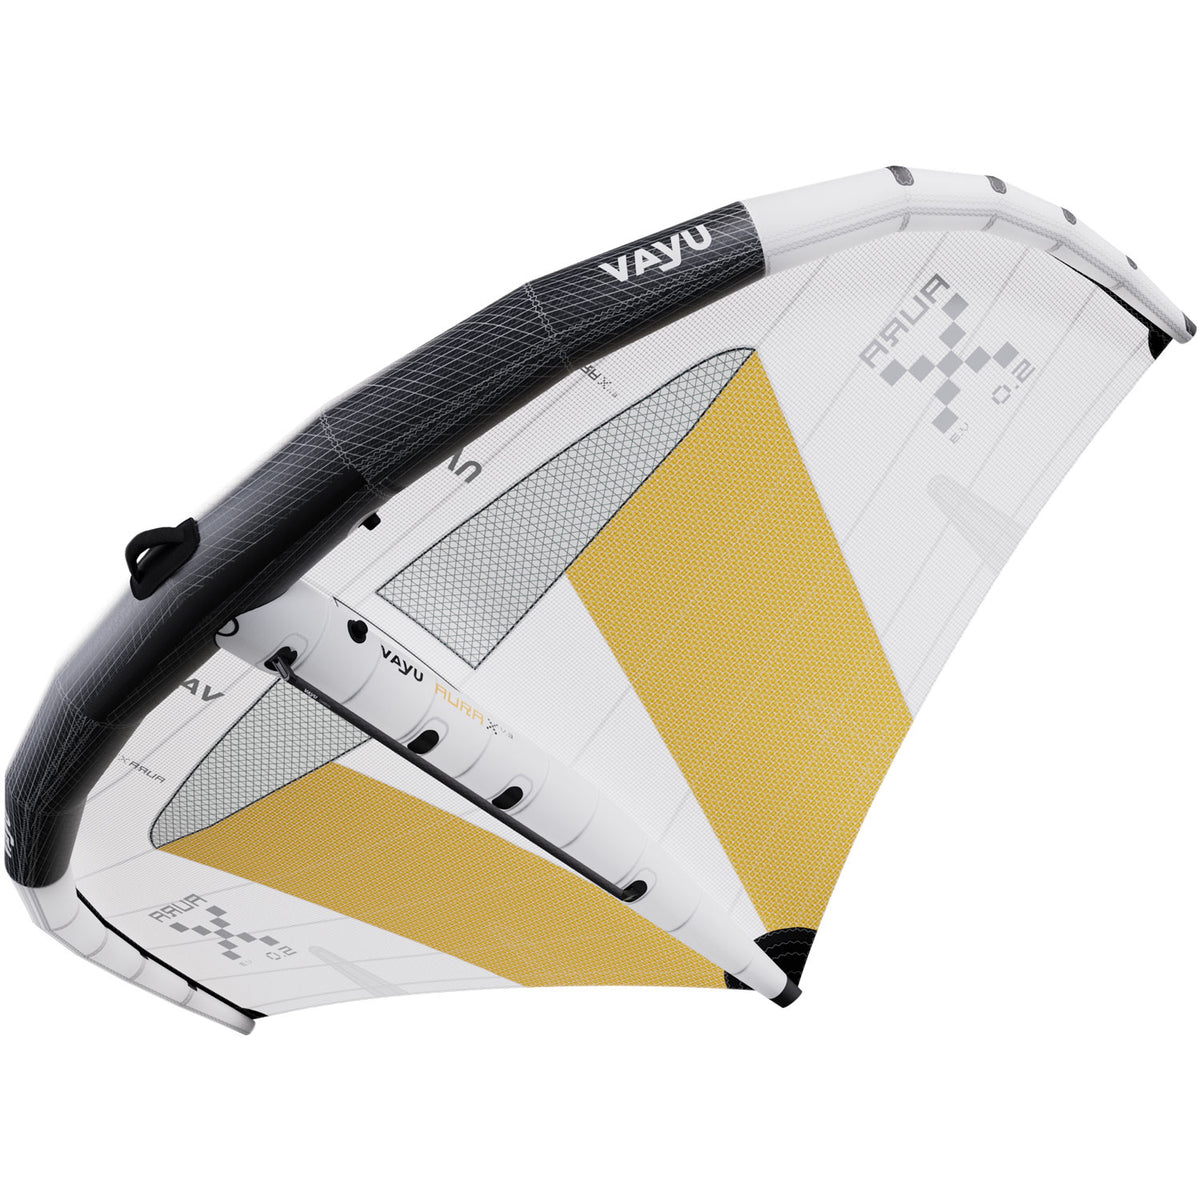
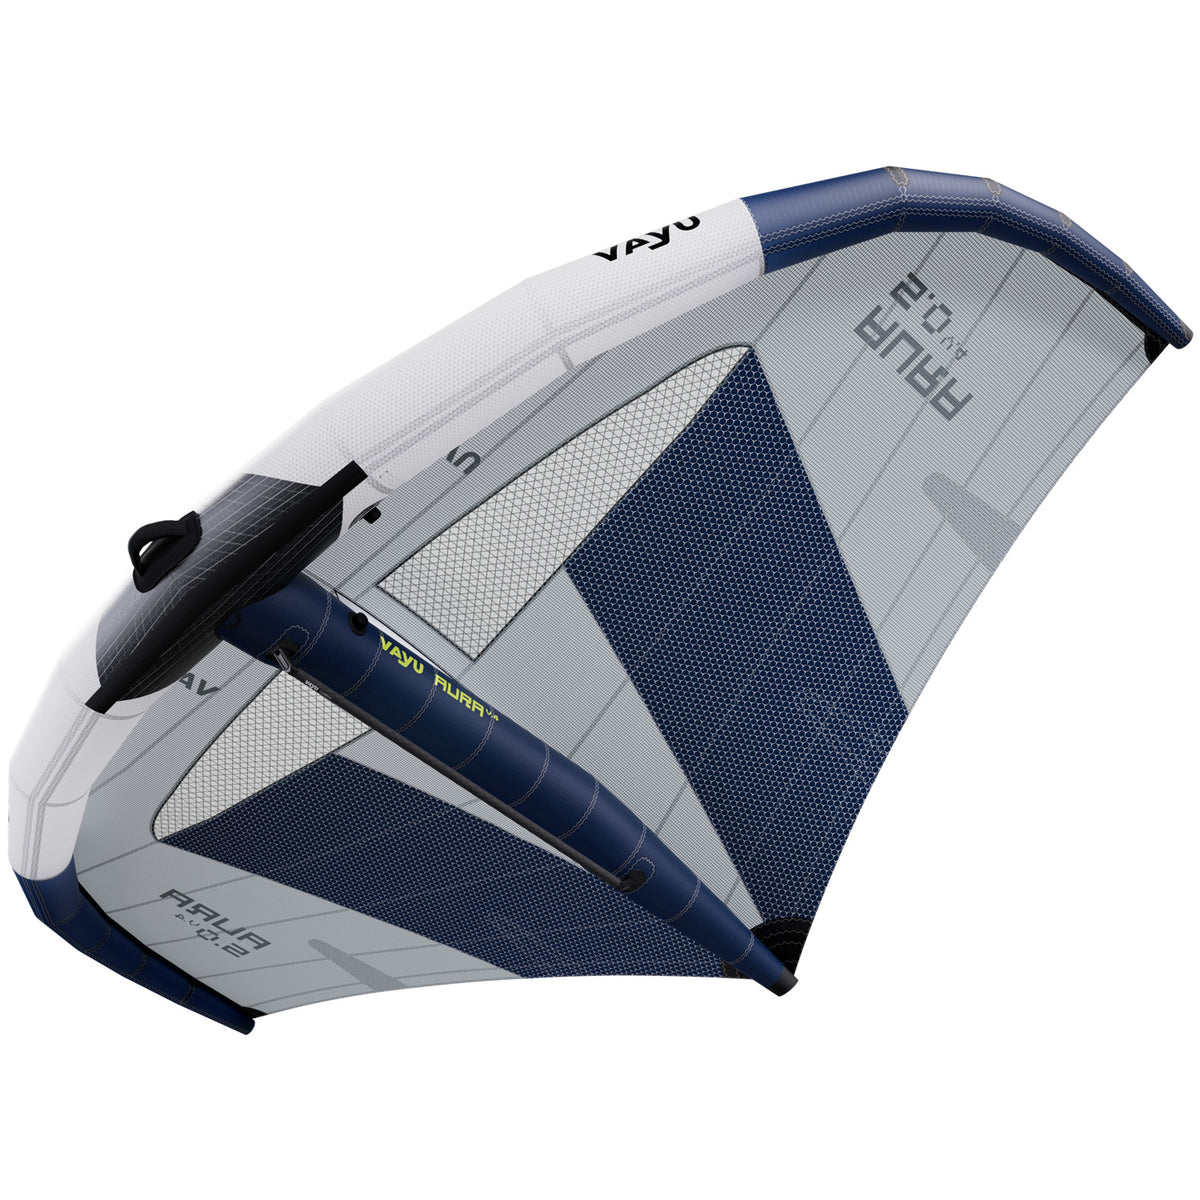
1. The wing
This is your engine. An inflatable wing you hold by a rigid central strut. It catches the wind and pulls you along. Its size is chosen according to your weight and the strength of the wind: the more wind there is, the smaller you go; the heavier the rider, the more surface you need. Size is measured in square metres. To get started, you want a stable wing that depowers well (that neutralises when you ease off a little) and that doesn't yank you around. The brands we carry work precisely on that balance between stability and performance. Browse the selection in the wings category.
If you want to dig into choosing the right size, I've written a dedicated guide: choosing your wing size according to all-up weight and wind.
2. The board
This is your floor. At the start, you want volume — lots of volume. A beginner board floats under your feet even when stationary, which lets you stand up, manage the wing and pump to take off without sinking on every attempt. Volume is measured in litres and is chosen partly according to your weight. Later, once flying becomes natural, you drop down in volume to gain manoeuvrability. Carbon boards, lighter and more responsive, become a real plus once you've got the basics down. Have a look at the boards category, and to understand the volume/length relationship, see my guide carbon board: volume and length.
3. The foil
This is the magic component. A vertical mast fixed under the board, ending in a front wing and a stabiliser. The larger the front wing, the earlier the foil takes off and the more forgiving it is — which is exactly what you want at the start. A large foil is slow but stable and tolerant. As you progress, you reduce the surface to gain speed and agility. The foil deserves a closer look: I devote a whole article to it, the foil explained. The selection is in the foils category.
A realistic beginner's progression
I'll be honest with you, because that's how I do things: wingfoil isn't instant. But the curve is hugely rewarding if you respect the steps. Here's what a typical journey looks like.
- Step 1 — Taming the wing on land. Before you even touch the water, you learn to hold the wing, to neutralise it, to understand the wind window. Fifteen minutes on the beach are worth an hour of struggling on the water.
- Step 2 — Moving on your belly or on your knees. You get onto the board, sometimes without the foil, or with the foil submerged, and you learn to let the wing tow you. You discover the pull.
- Step 3 — Standing up and gliding on the water. Still without flying. You stand, you steer, you work your way upwind. This is the foundation of everything.
- Step 4 — The first take-offs. You pump, the speed builds, and up the board comes. The first flights last two seconds. Then five. Then you hold a whole run, and that's it — you're hooked.
- Step 5 — Turns and pumping. Linking runs, turning while keeping the flight, working back upwind. That's where the sport becomes endless.
How long does it take? It depends on the local wind, your fitness and — above all — the number of sessions. Someone consistent and well coached often takes off after just a few sessions. Without lessons, expect a good deal longer, with its share of frustration. Hence my next piece of advice.
Taking lessons: non-negotiable
I'm an instructor, so yes, I'm biased. But trust the old hand: taking one or two lessons at the start is the best investment in the sport. A good instructor saves you weeks of bad habits, puts you in the right wind conditions, lends you suitable gear, and above all teaches you safety. Wingfoil looks cool and harmless, but the foil is sharp and the gear carries inertia. You respect that.
The basic rules: wear a helmet and a flotation aid, choose an open stretch of water, understand the wind (never offshore wind when you're starting out — that's the classic trap that carries you out to sea), and always have a way back to shore. Since the foil is sharp, you learn to fall cleanly, away from the gear.
Forgiving gear for getting started
The biggest beginner mistake is buying "advanced rider" gear in the hope of saving time. It's the opposite. The right beginner gear comes down to three words: volume, stability, tolerance.
- A stable wing that's easy to depower, that doesn't tear your arms off.
- A high-volume board that floats under your feet at a standstill.
- A large-surface foil, slow but ultra tolerant, that takes off early and forgives mistakes.
The advantage of the system is its modularity: you keep your wing and just change the foil as you progress. That spreads out the investment. On the brand side, we work in particular with Vayu, a German wingfoil maker based in Kiel, on the Baltic, offering wings, boards and foils designed for coherent progression. For a full overview of the gear, head to the wings & kites category.
And if you're still hesitating between disciplines, read wing vs kite vs parawing before you dive in: it'll save you from picking the wrong sport.
The Rid'Air recommendation
Start big, refine as you go. Volume under your feet, a gentle wing, a large forgiving foil — and lessons. Don't skip the steps: wingfoil rewards patience and punishes haste, exactly like paragliding. And don't buy for the sake of buying: if you're not sure of your needs, keep your money and call us, we'll point you towards what genuinely fits your build, your spot and your level.
Need help putting together your first wingfoil package? Get in touch, we love it, or browse the shop and the wing selection directly to get a feel for it. We actually ride — we're not spreadsheet salespeople.
Frequently asked questions
What is wingfoil?
Wingfoil is a board sport where you hold a light inflatable wing in your hands while standing on a board fitted with a foil. Beyond a certain speed, the foil lifts the board out of the water and you fly above the surface. It's that silent lift that makes the whole appeal of the sport.
What are the three components needed to start wingfoil?
You need a wing, which acts as the engine, a high-volume board that carries you, and a foil that lifts you off the water. These three components are independent, which lets you upgrade your gear piece by piece as you progress.
How long does it take to manage to fly in wingfoil?
With lessons, good gear and regular sessions, many beginners take off after just a few sessions. Without coaching, expect considerably more time and more frustration. Consistency and good local wind are the most decisive factors.
Do you need lessons to start wingfoil?
Yes, it's strongly recommended. One or two lessons at the start save you weeks of bad habits, put you in the right conditions and teach you safety. Since the foil is sharp and the gear carries inertia, initial coaching is the best investment in the sport.
What gear should you choose to start wingfoil?
Favour volume, stability and tolerance: a stable wing that's easy to neutralise, a high-volume board that floats under your feet at a standstill, and a large-surface foil that takes off early and forgives mistakes. You start big and refine the gear as you progress.
Is wingfoil dangerous?
Practised with common sense, wingfoil is accessible, but it demands respect. Wear a helmet and a flotation aid, choose an open stretch of water, avoid offshore wind when starting out, and learn to fall away from the foil, which is sharp. Safety is learned from the very first lessons.
Fly safe,
Cyrille MARCK and the Rid'Air/CEM team